Configure SAML single sign-on for Microsoft 365
Federating a Microsoft 365 domain with your SAML identity provider (IdP) lets users sign in to Microsoft 365 with the same credentials they use for the rest of your environment. Microsoft 365 no longer manages passwords for that domain, which reduces the risk of password reuse and phishing. When the IdP is backed by your existing on-premises Active Directory, you do not need to maintain separate on-premises and cloud identities.
This guide has two parts: what to configure on the IdP side, and what to configure in Microsoft 365 (the service provider, SP). It then shows how to test both sign-in flows.
Prerequisites#
- A Microsoft 365 tenant and an account with the Global Administrator role.
- A custom domain (for example,
example.com) that is verified in the tenant. See the notes in Step 4 of the Microsoft 365 part. - On-premises Active Directory users synchronized to Microsoft Entra ID (for example, with Microsoft Entra Connect), so that each cloud user has a matching
ImmutableIDand user principal name (UPN). - A SAML 2.0 identity provider reachable over HTTPS at a public DNS name with a valid TLS certificate (this guide uses
sso.example.com). - Administrative access to the IdP, and access to the certificate it uses to sign SAML assertions.
- A workstation with PowerShell 7 or Windows PowerShell 5.1 and the Microsoft Graph PowerShell SDK.
Configure the identity provider#
Create a SAML service provider (relying party) entry for Microsoft 365 in your IdP. The exact screens depend on your product; the values below are what Microsoft 365 expects.
| Setting | Value |
|---|---|
| Audience (SP entity ID) | urn:federation:MicrosoftOnline |
| Assertion consumer service (ACS) URL | https://login.microsoftonline.com/login.srf |
| Single logout URL (optional) | https://login.microsoftonline.com/logout.srf |
| IdP entity ID (issuer) | urn:example.com or another unique URI. You enter the same value as IssuerUri in Microsoft 365. |
| Binding | HTTP-POST for the assertion response |
| Assertion signing | Sign the assertion with the IdP signing certificate |
Configure the assertion to carry these values:
- NameID: the user's
ImmutableID, which is the Base64-encodedobjectGUIDof the on-premises Active Directory user (the same value as themS-DS-ConsistencyGuidattribute if you use it as the source anchor). Use the persistent name ID format. - UPN claim: the user's UPN, for example
user@example.com, sent as the attributeIDPEmail(the claim Microsoft Entra ID matches to the cloud user). The UPN suffix must be the federated domain.
Then publish the IdP sign-on and sign-out endpoints. The examples in this guide use:
- Sign-in URL:
https://sso.example.com/saml-sso/Office365 - Sign-out URL:
https://sso.example.com/saml-slo/Office365
Finally, export the IdP's token-signing certificate (the public part only) in Base64 (PEM) format. You need it in the next part.
Configure Microsoft 365#
Step 1: Open PowerShell as an administrator and install the Microsoft Graph PowerShell module.
PS C:\> Install-Module Microsoft.Graph -Scope CurrentUserIf PowerShell asks whether to trust the PSGallery repository, answer Yes if you trust it.
Step 2: Connect to the tenant with a Global Administrator account.
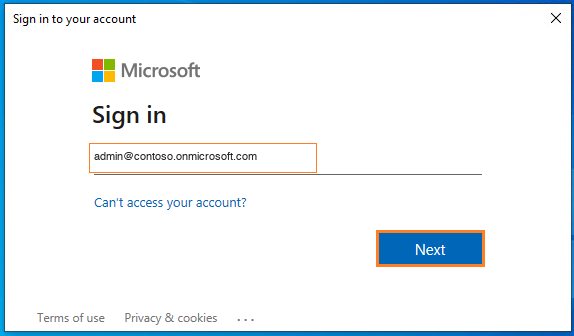
PS C:\> Connect-MgGraph -Scopes "Domain.ReadWrite.All"A sign-in window opens. Enter the Global Administrator user name and click Next.
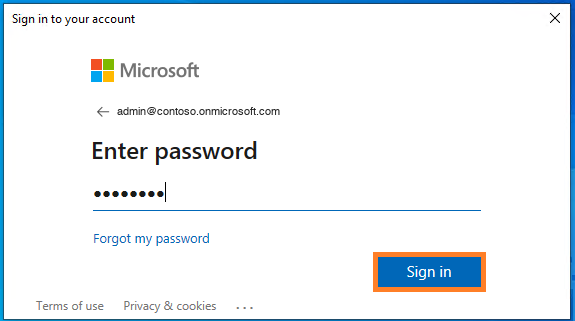
Enter the password and click Sign in. Approve the requested permissions if prompted.
Step 3: List the domains in the tenant.
PS C:\> Get-MgDomain | Format-Table Id, IsVerified, IsDefault, AuthenticationType

Id                           IsVerified IsDefault AuthenticationType
--                           ---------- --------- ------------------
contoso.onmicrosoft.com      True       False     Managed
example.com                  True       True      Managed
Step 4: Make sure the domain you want to federate is eligible.
- Federation can be enabled only for domains that are verified in the tenant.
- Federation cannot be enabled for
onmicrosoft.comdomains that Microsoft creates. - Federation cannot be enabled for the default domain (the primary domain in which users are created). If the domain you want to federate is the default, first make the
onmicrosoft.comdomain the default. Microsoft enforces this so that administrators can always sign in to Microsoft 365 even if the IdP has a problem. - If your organization has no custom domain, you need to add and verify one before you can configure federation.
- Federated domains cannot use password hash synchronization for sign-in.
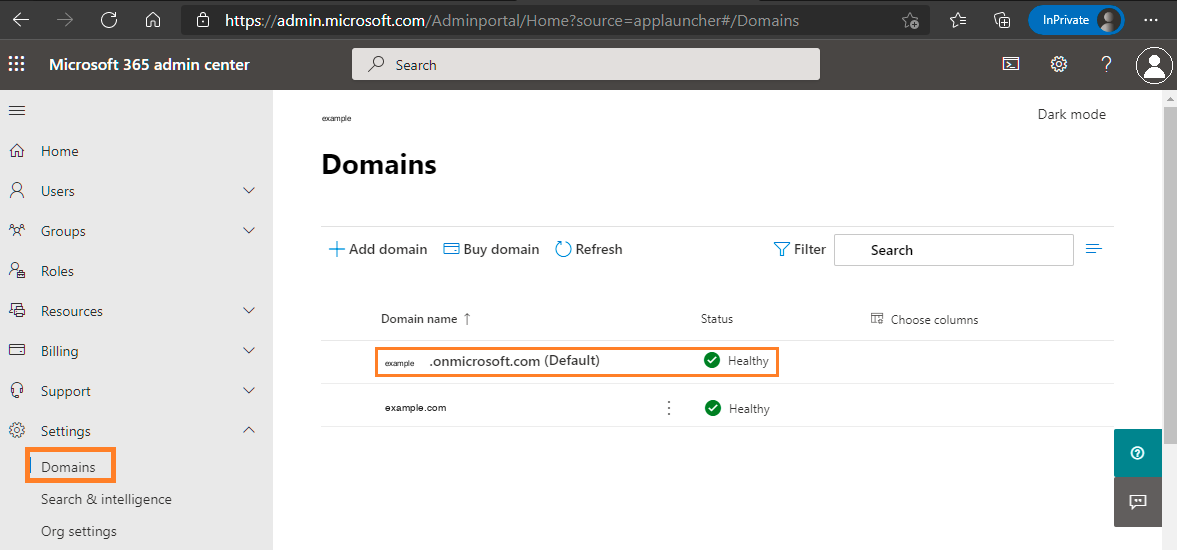
To change the default domain, open the Microsoft 365 admin center at https://admin.microsoft.com, go to Settings then Domains.
Before: the custom domain is the default.
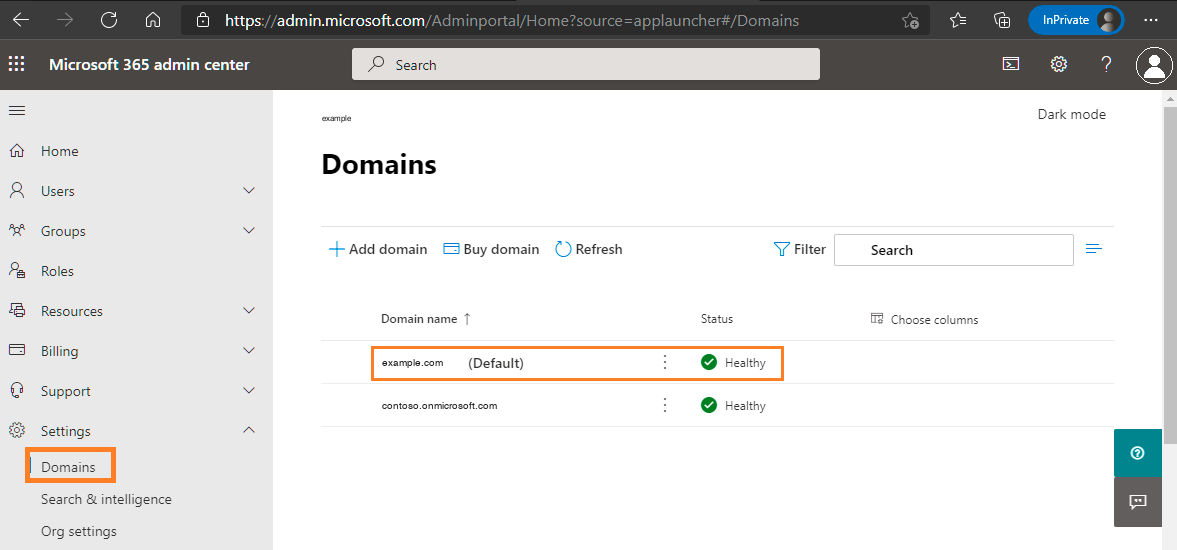
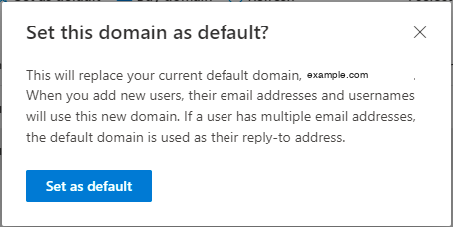
Select the contoso.onmicrosoft.com domain and choose Set as default.
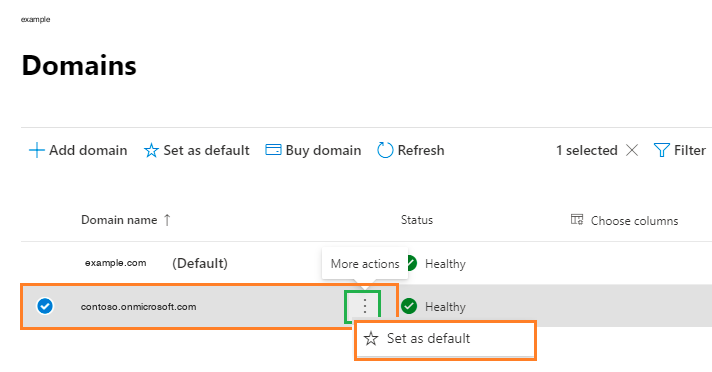
Confirm the prompt.
After: the onmicrosoft.com domain is the default.
Step 5: Set the parameters for your environment.
$dom         = "example.com"                                  # The domain to federate
$brand       = "TechLabOps"                                   # Name shown on the federation configuration
$logOnUrl    = "https://sso.example.com/saml-sso/Office365"   # IdP sign-in URL
$logOffUrl   = "https://sso.example.com/saml-slo/Office365"   # IdP sign-out URL
$issuerUri   = "urn:example.com"                              # IdP entity ID; must match the IdP setting
$signingCert = "<Base64 certificate on one line, no header or footer>"
Step 6: Convert the domain from managed to federated.
PS C:\> New-MgDomainFederationConfiguration -DomainId $dom `
    -DisplayName $brand `
    -IssuerUri $issuerUri `
    -PassiveSignInUri $logOnUrl `
    -ActiveSignInUri $logOnUrl `
    -SignOutUri $logOffUrl `
    -MetadataExchangeUri "https://login.microsoftonline.com/" `
    -SigningCertificate $signingCert `
    -PreferredAuthenticationProtocol "samlP" `
-FederatedIdpMfaBehavior "acceptIfMfaDoneByFederatedIdp"Step 7: Verify the domain status and federation settings.
PS C:\> Get-MgDomain | Format-Table Id, IsVerified, AuthenticationType

Id                           IsVerified AuthenticationType
--                           ---------- ------------------
contoso.onmicrosoft.com      True       Managed
example.com True FederatedPS C:\> Get-MgDomainFederationConfiguration -DomainId "example.com" | Format-List
DisplayName : TechLabOps
IssuerUri : urn:example.com
ActiveSignInUri : https://sso.example.com/saml-sso/Office365
PassiveSignInUri : https://sso.example.com/saml-sso/Office365
SignOutUri : https://sso.example.com/saml-slo/Office365
MetadataExchangeUri : https://login.microsoftonline.com/
PreferredAuthenticationProtocol : samlP
SigningCertificate : <Base64 certificate>Confirm that IssuerUri, the sign-in and sign-out URLs, and the certificate match the values configured on the IdP.
Step 8: Reconfigure or update the federation settings.
PS C:\> $cfg = Get-MgDomainFederationConfiguration -DomainId "example.com"
PS C:\> Remove-MgDomainFederationConfiguration -DomainId "example.com" -InternalDomainFederationId $cfg.Id
To rotate the IdP signing certificate without removing the configuration, use Update-MgDomainFederationConfiguration with the new -SigningCertificate (or -NextSigningCertificate to publish it ahead of the switchover).
Sign in to Microsoft 365#
After federation is configured, test both flows with a user whose UPN uses the federated domain. For an overview of the two flows, see How SAML sign-in works.
Using IdP-initiated sign-in#
- The user browses to the IdP portal or application launcher at
https://sso.example.comand signs in with their directory user name and password. - If MFA is required, the user completes the second factor.
- After authentication and authorization, the IdP shows the applications assigned to the user. The user selects the Microsoft 365 application, and the IdP sends a signed SAML response to
https://login.microsoftonline.com/login.srf. - Microsoft 365 validates the assertion and opens the Microsoft 365 home page without asking for a password.
Using SP-initiated sign-in#
Browse to https://office.com and sign in with the email address (UPN).
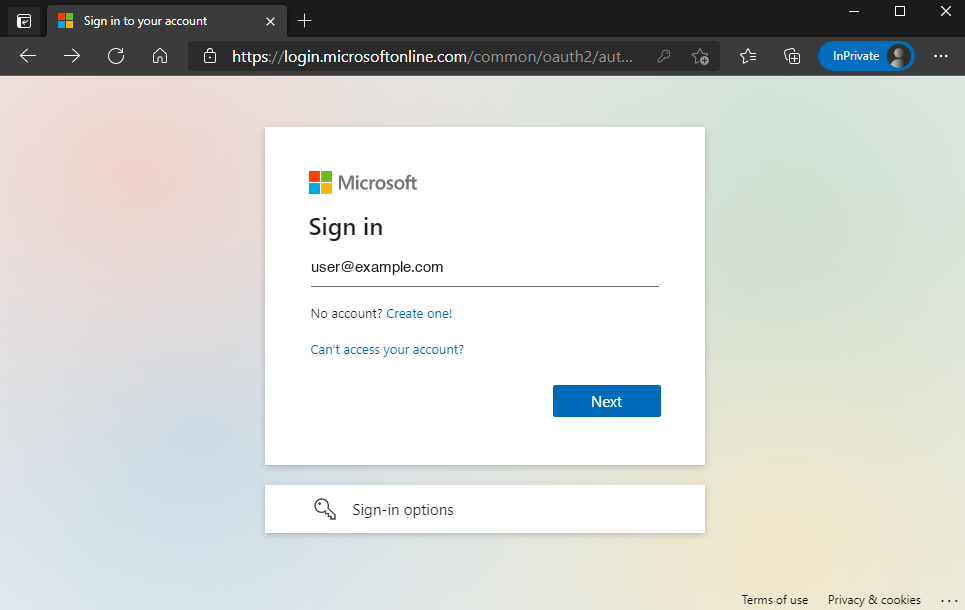
Microsoft 365 recognizes the federated domain and redirects the browser to your organization's sign-in page (the IdP).
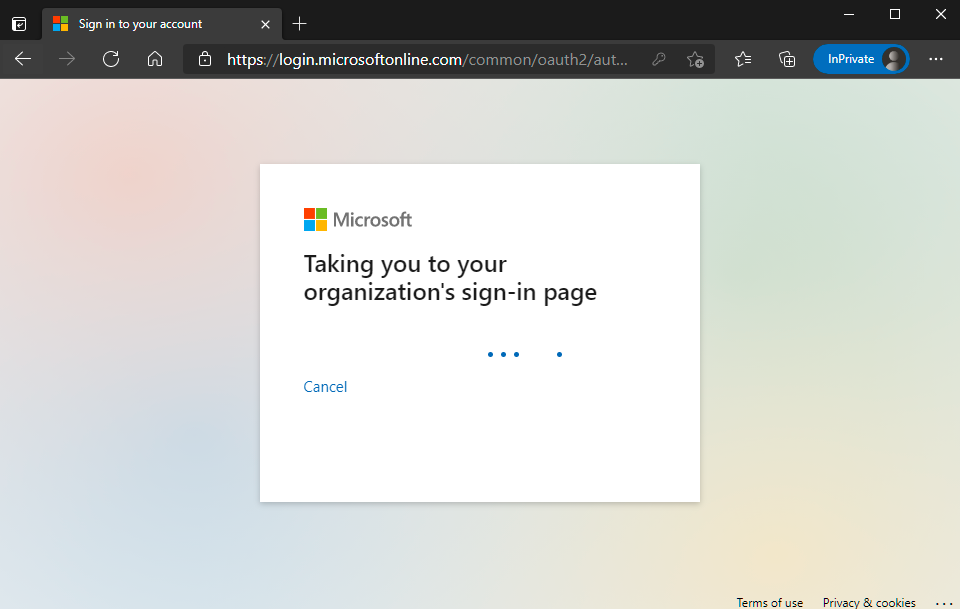
On the IdP page, enter the user name and password, then complete the multi-factor authentication challenge if the IdP requires it.
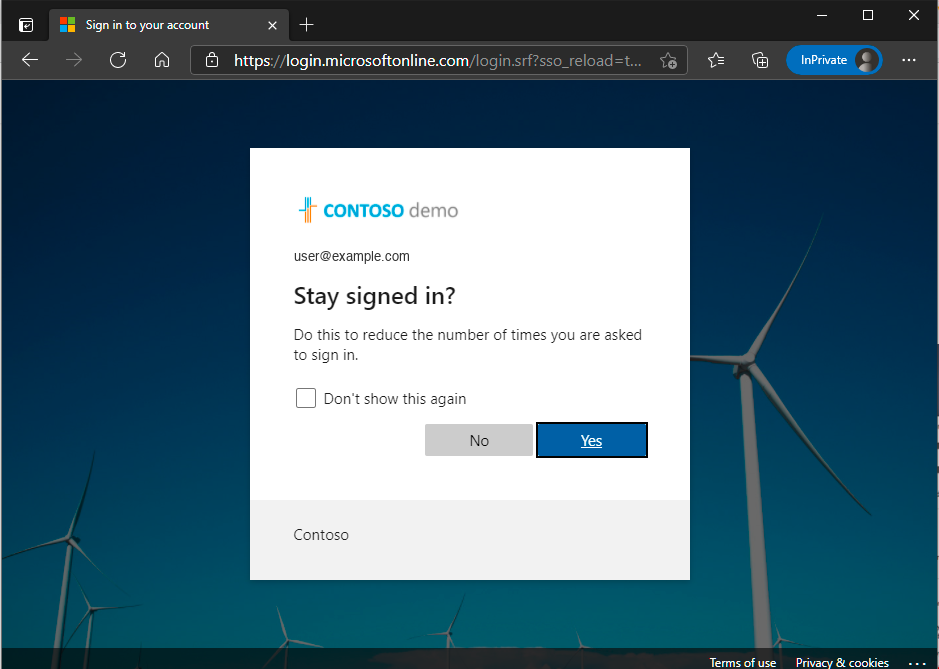
Back in Microsoft 365, select whether to stay signed in.
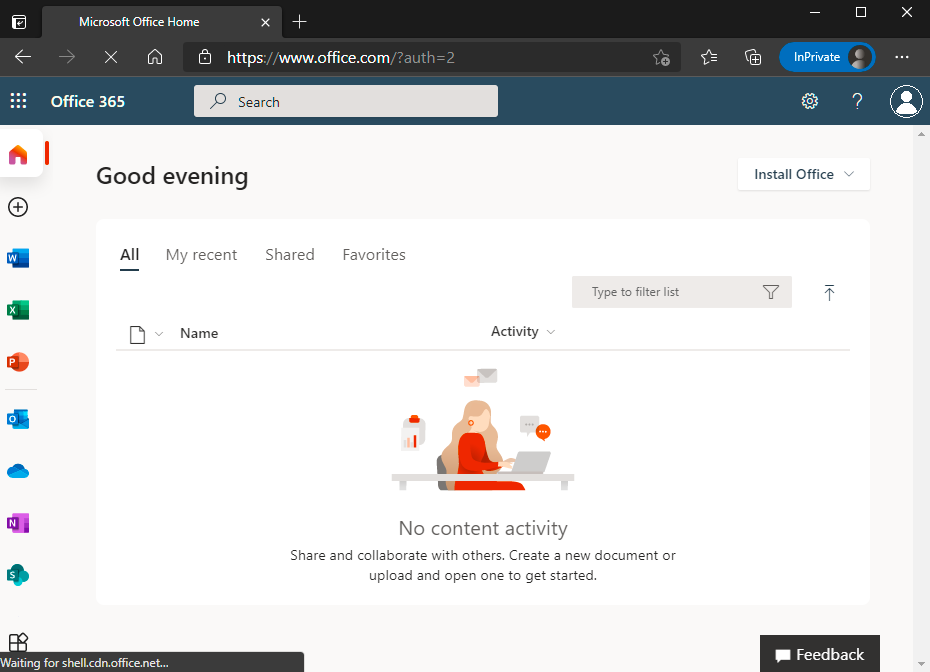
The Microsoft 365 home page opens.
Troubleshooting#
- The user is redirected to the IdP but gets an error from Microsoft 365 after signing in. Check that the NameID equals the user's
ImmutableIDand that the UPN claim matches the cloud user's UPN exactly. - Error about the issuer. The IdP entity ID must be identical to the
IssuerUriin the federation configuration. - Signature validation fails. The certificate in the federation configuration must be the current IdP signing certificate. Update it after any IdP certificate renewal.
- Clock skew. Keep the IdP and its servers synchronized with a reliable time source; SAML assertions are valid for a short time.